Pole fishing is a fun and rewarding way to catch fish. In this article, we'll show you how to tie the best pole fishing rig that you can use to catch a variety of fish. We'll also give you some tips on how to choose the right materials and how to set up your rig.
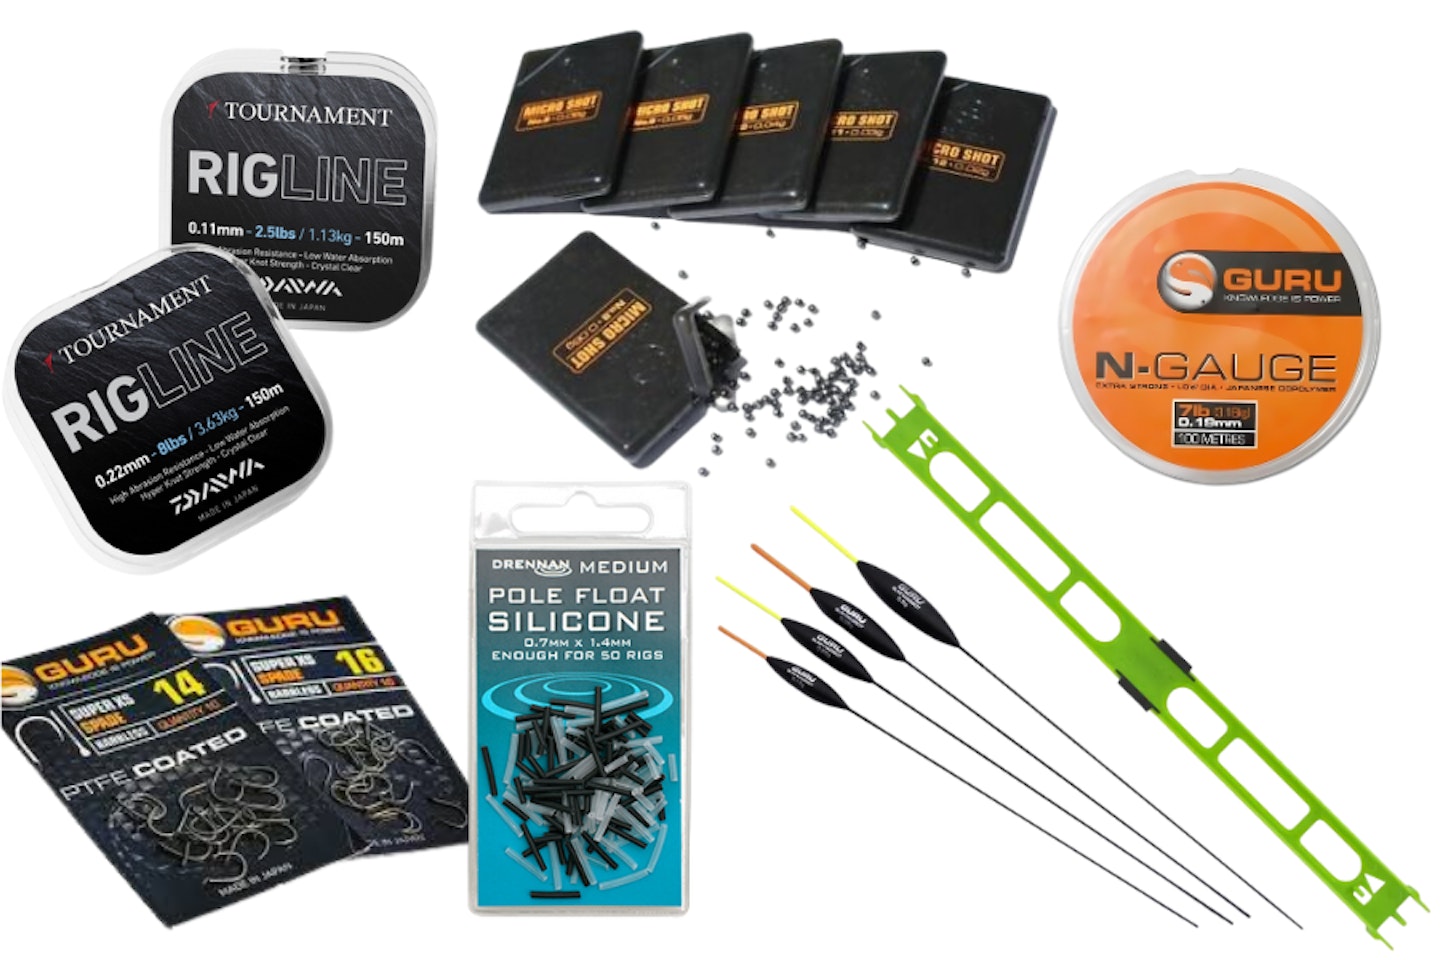
Materials needed
-
Main line of your choice (Guide: 5lb/0.16mm diameter, make sure to use stronger than hooklength)
-
Hook length of your choice (Guide 4lb/0.14mm diameter, make sure its weaker than mainline)
-
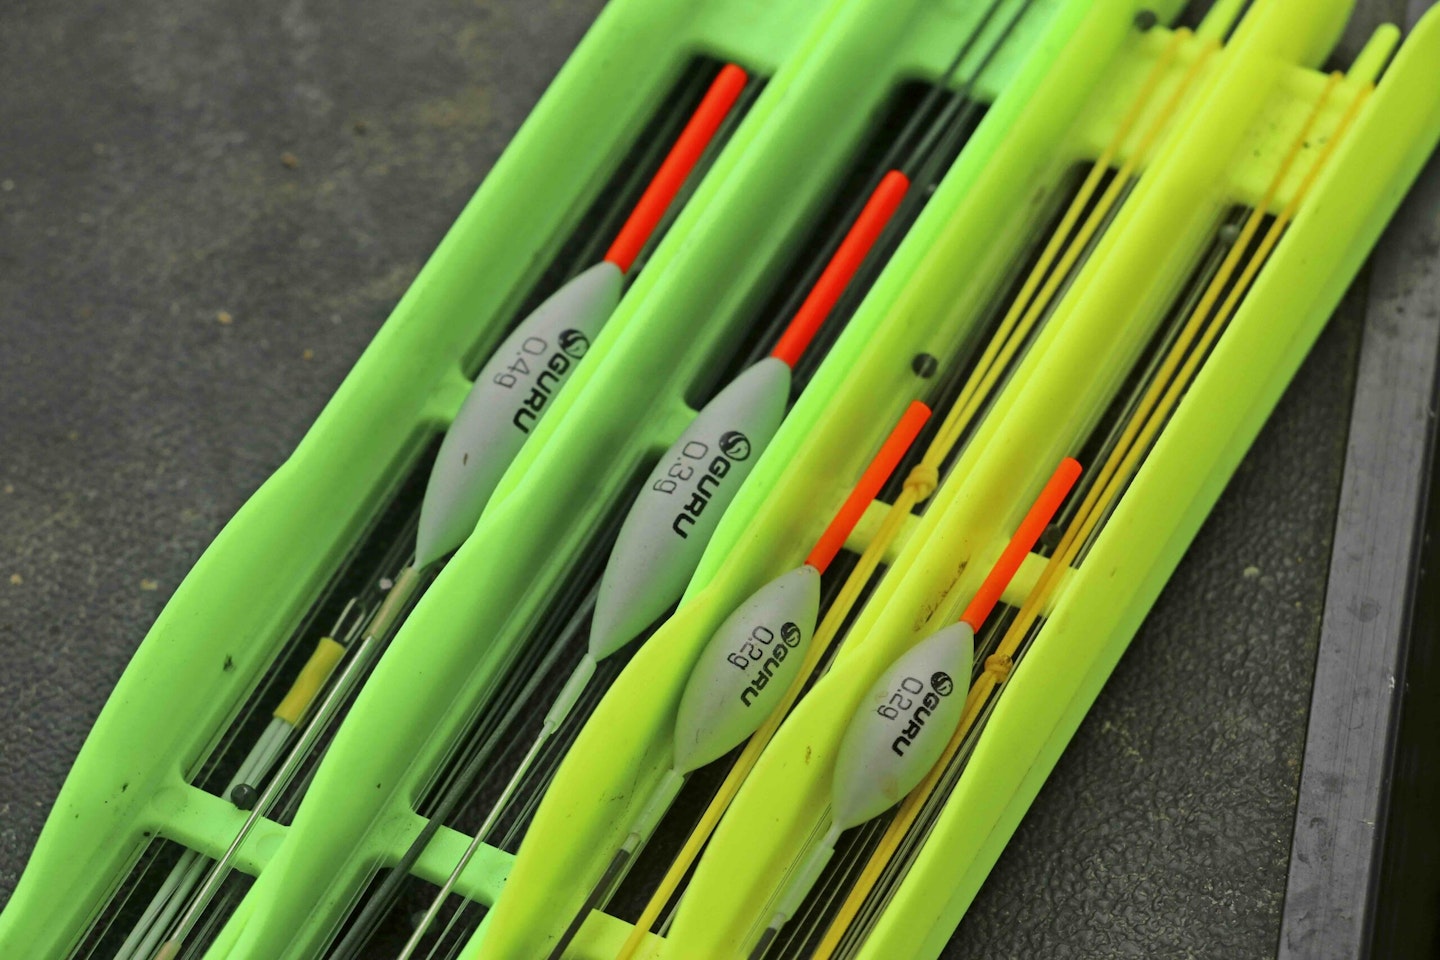
Desired pole float (Use a heavier float for deeper water, 0.3g 4x14 is a good starting point)
-
Silicone tubing (0.7mm for wire stem, 1mm for carbon and glass stem)
-
Hook selection (Match the hook size to the hookbait and fish you are targeting, 18/16 is a good choice for maggots and casters where as 14/12 for bigger baits like worm/pellet/corn)
-
Split shot weights (A selection of sizes No 8 to No 12 will help to fine tune presentation)
GET THE BEST OUT OF YOUR POLE RIGS BY USING ONE OF THE BEST FISHING POLES.

Prepare the hooklength
Cut the Line: Cut a 10-inch segment of hooklength material.
Attach the Hook: Use a half-blood knot to secure the hook at one end of the line.
Create a Loop: Form a small figure-of-eight loop knot at the opposite end to finalise the hook length. (Try to keep hook length a consistent length if tying multiple, 6-inches is ideal, allowing you to easily swap it without changing the depth of the rig)
If you struggle with this part, there are some excellent ready-tied hooklengths to cater for every eventuality from carp fishing on commercials to roach fishing on canals.
Attach the float
Thread the Line: Pass the main line through the eye of the float.
Add Silicone Tubing: Slide on two small pieces of silicone tubing followed by one longer piece. Position one small piece approximately one centimetre below the float body, place the second small piece halfway up the stem, and allow the longer piece to extend slightly beyond the bottom of the stem to minimise tangles.
Secure the End: Tie a figure-of-eight loop knot at the end of the main line.
ALWAYS SELECT THE CORRECT POLE FLOAT FOR YOUR FISHING WITH OUR EXPERT GUIDE.
Connect the hook length to the main line
Join the Loops: Connect the loop from the hook length to the loop on the main line using a loop-to-loop connection.
Attach split shot weights
Test the Float: Submerge the float in a bucket of water or the lake to gauge the number of split shot required to achieve the desired buoyancy, ensuring an appropriate amount of the tip remains visible above the surface
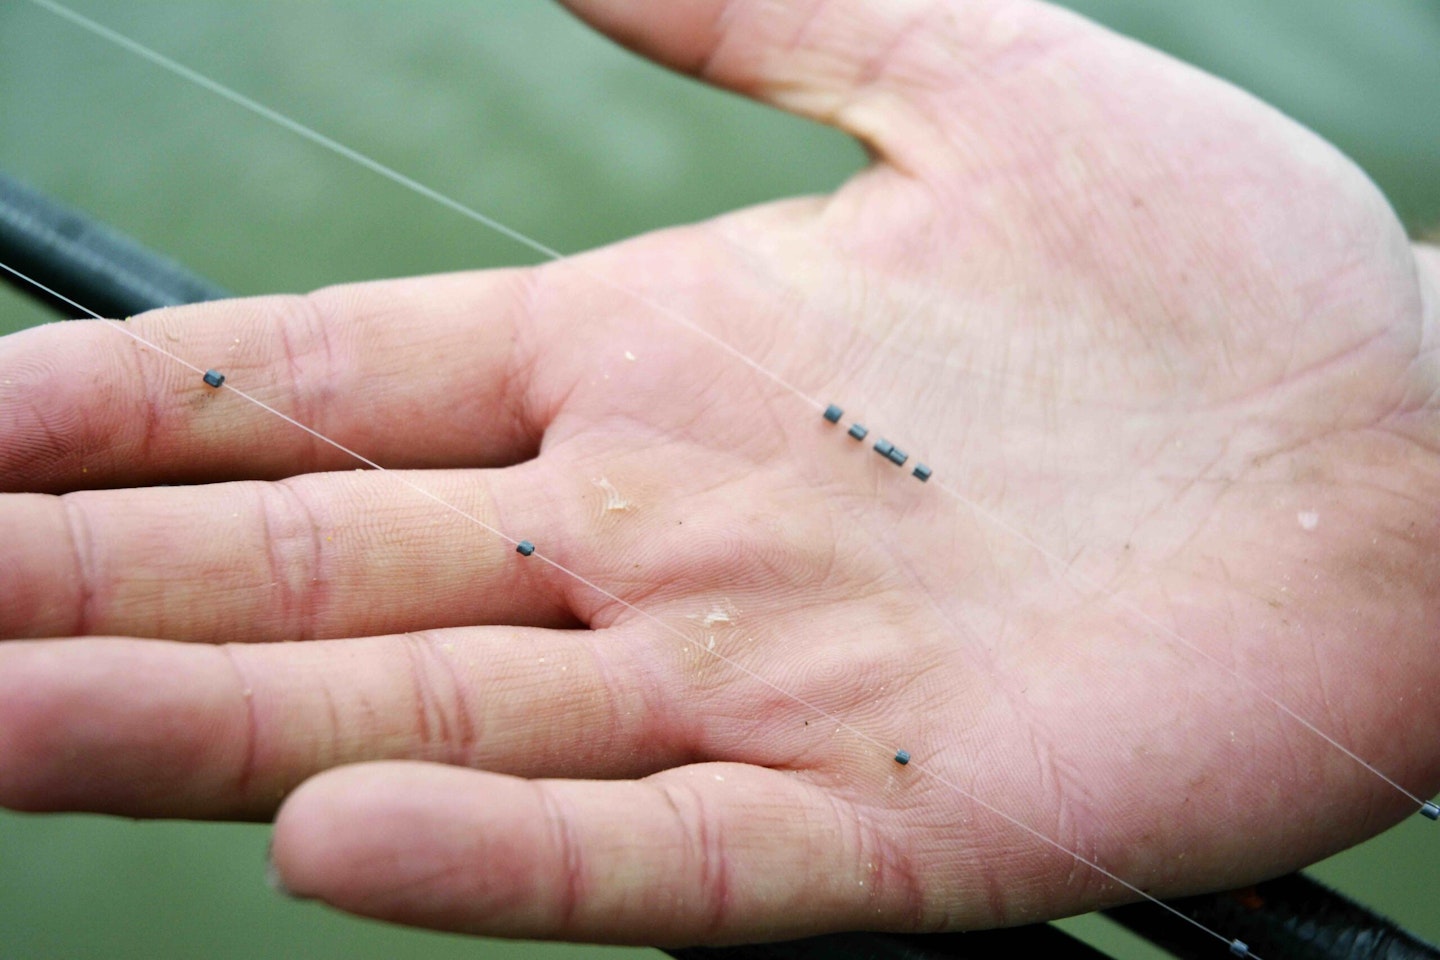
Add Split Shot: Attach the split shot to the main line, arranging them in either a strung-out or bulk pattern based on your preferred presentation. As a starting point, position a bulk of shot in the lower third of the line, with one or two dropper shot closer to the hook length to reduce tangling and ensure effective bait presentation on the bottom.
UNDERSTAND POLE FLOAT WEIGHTS AND SHOT CONVERSIONS WITH OUR SIMPLE GUIDE.

Store the rig safely
Once completed the rig can be wound on to a pole winder and safely stored ready for use, it's wise to produce a selection of rigs in varying line strengths and float weight to be able to change and adapt to fishing situations. Also having a selection of hook lengths will greatly assist the versatility of your pole rigs.
THIS EXPERT GUIDE SHARES HINTS AND TIPS TO TIE A POLE RIG EFFECTIVELY.

