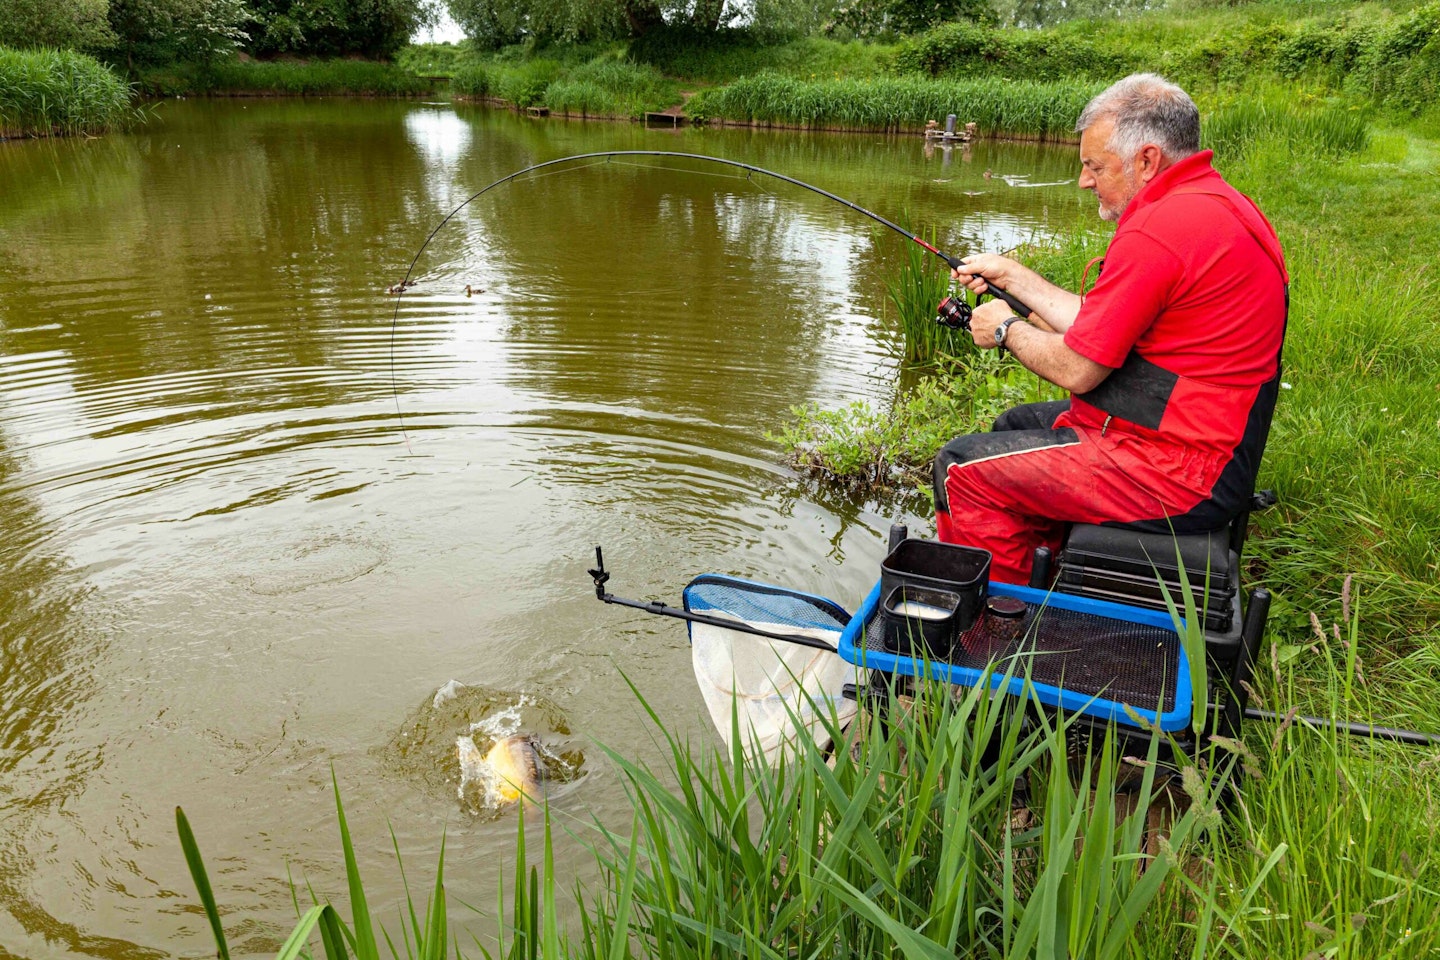
Using a feeder rod allows you to present a weight or a feeder on the bottom of a lake, or river. The rod has a sensitive tip that is used for bite detection, the tip is set when the rig is in place with a little tension to register movements and as a bait is picked up by a fish and the line tightens further or slackens off the tip will bend or spring back indicating a bite. In this article I will go through setting up a feeder rod and tying a simple but effective running rig to present a bait.
THE BEST CARP FEEDER RODS ARE AN IDEAL TOOL FOR A SIMPLE RUNNING FEEDER RIG.

Putting the rod together
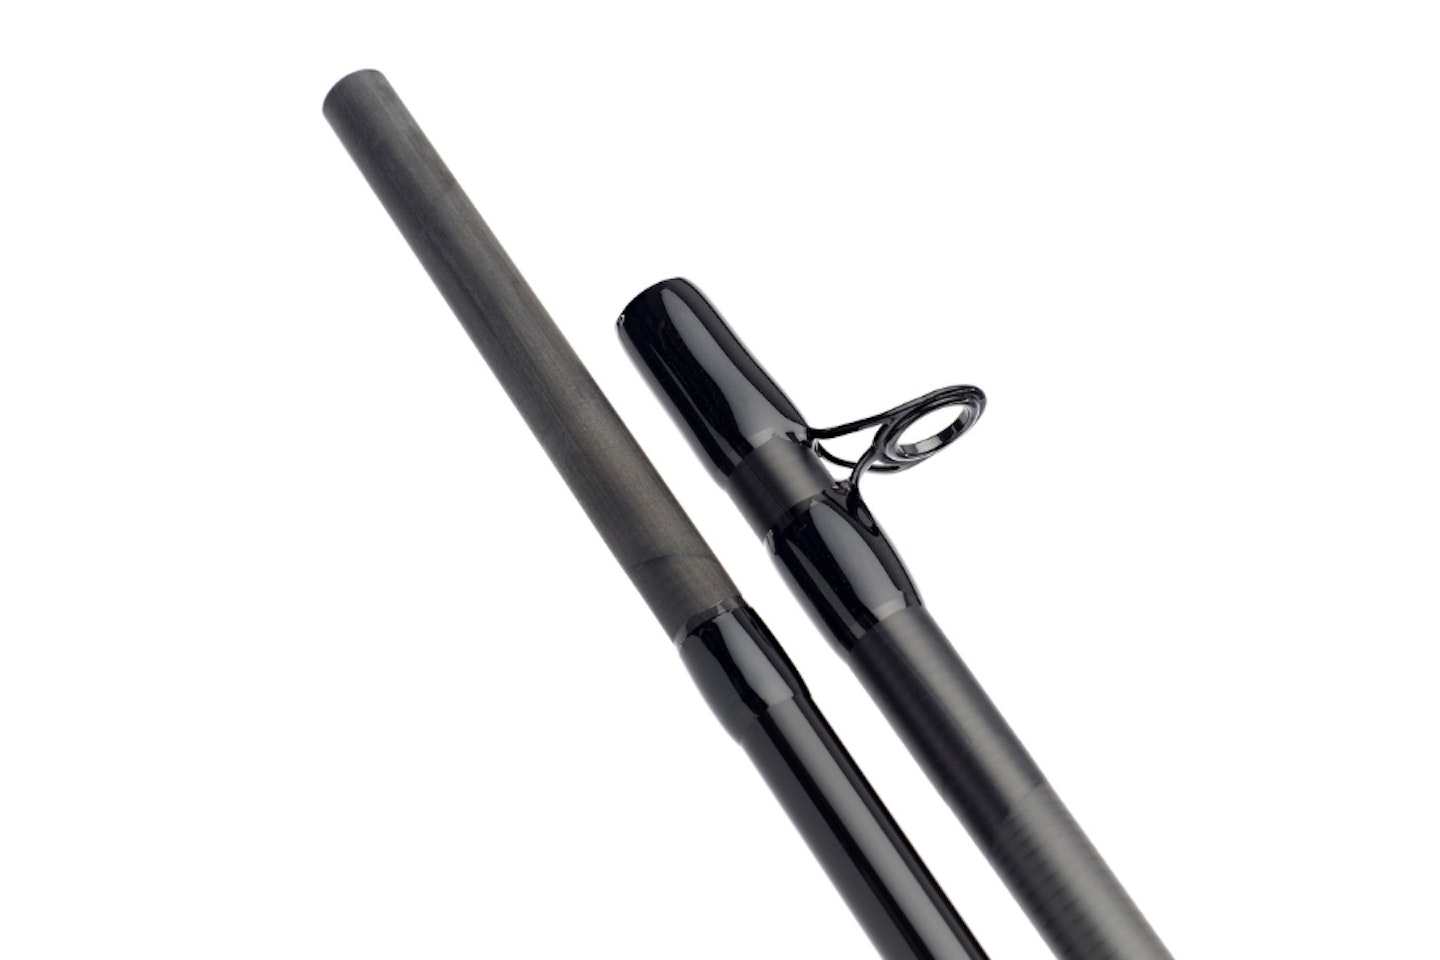
A fishing rod will be in pieces, typically 2 to 3 pieces, with shorter format rods, 12ft or less or typically two pieces with 13ft plus rods supplied in 3 pieces. This makes the rod less than 6ft in length when packed away for ease of transport. The rod fits together to create a full-length rod, the sections join together with the top section or carrier section (it’s called this as it ‘carries’ the quiver tip) sliding over the spigot of the butt section. When putting the rod together ensure that the joints are clean and the guides (eyes) of each section line up to ensure optimal line travel through the guides.
THE BEST SHORT FEEDER RODS ARE PERFECT FOR COMMERCIALS AND A GREAT STARTING POINT FOR BEGINNERS.

Fitting the reel
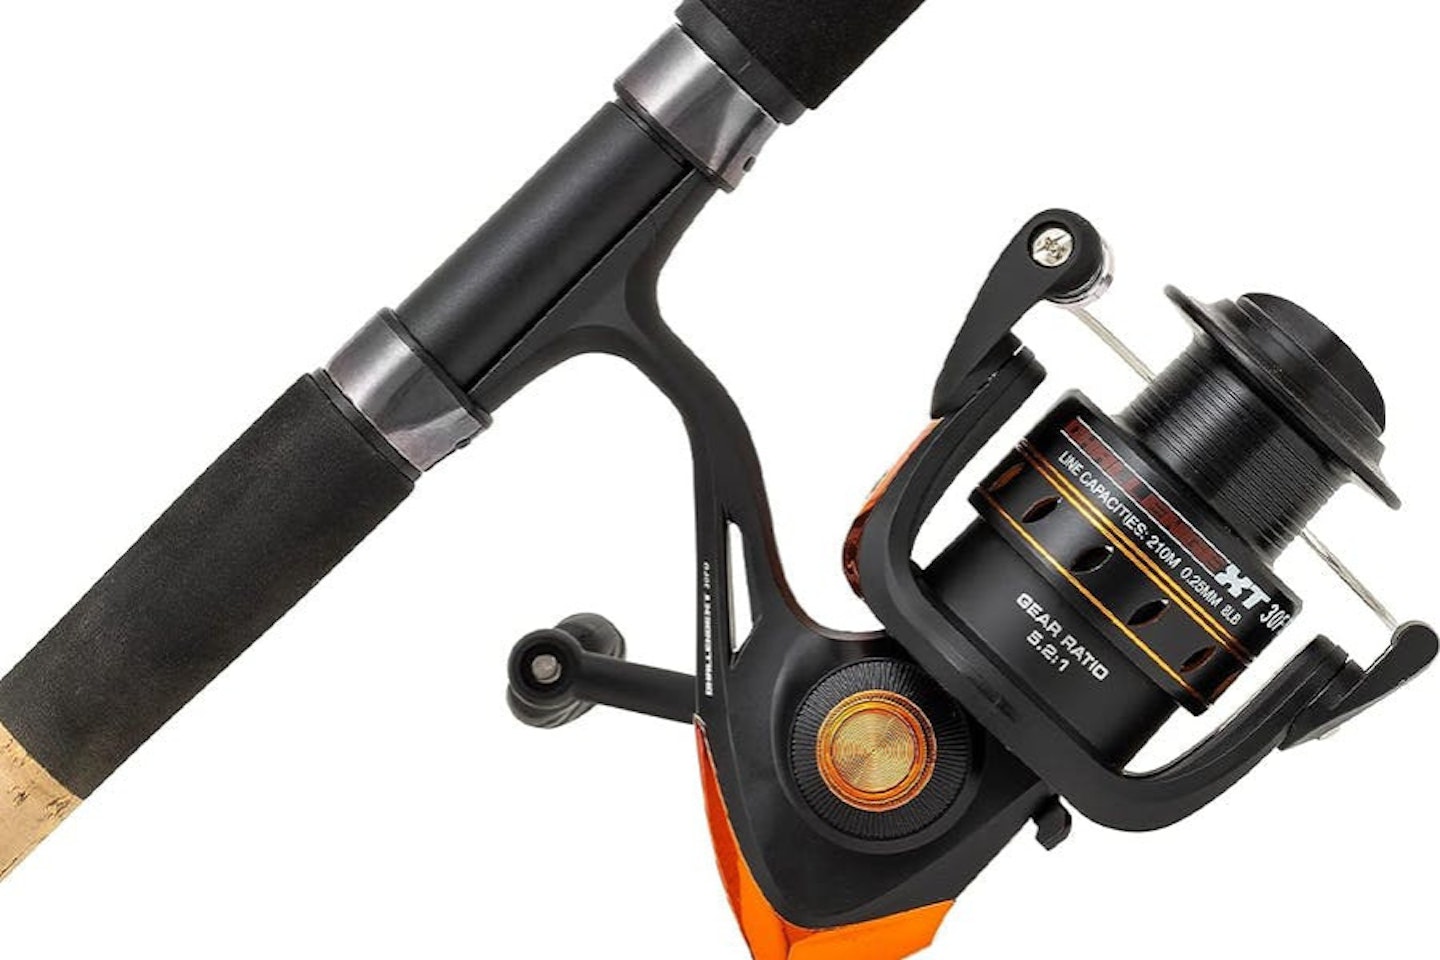
The butt section of the rod will have a seat for the reel situated on the handle. Here the reel will lock in place, typically called a down-locking pipe seat (DPS) the foot of the reel (flat plate part of the reel body) is placed in the seat and then the down-locking mechanism is tightened by rotating the collar anticlockwise to lock the reel in place.
YOU DON'T HAVE TO SPEND A FORTUNE ON TACKLE AS THE BEST REELS UNDER £50 PROVE.

Threading the line
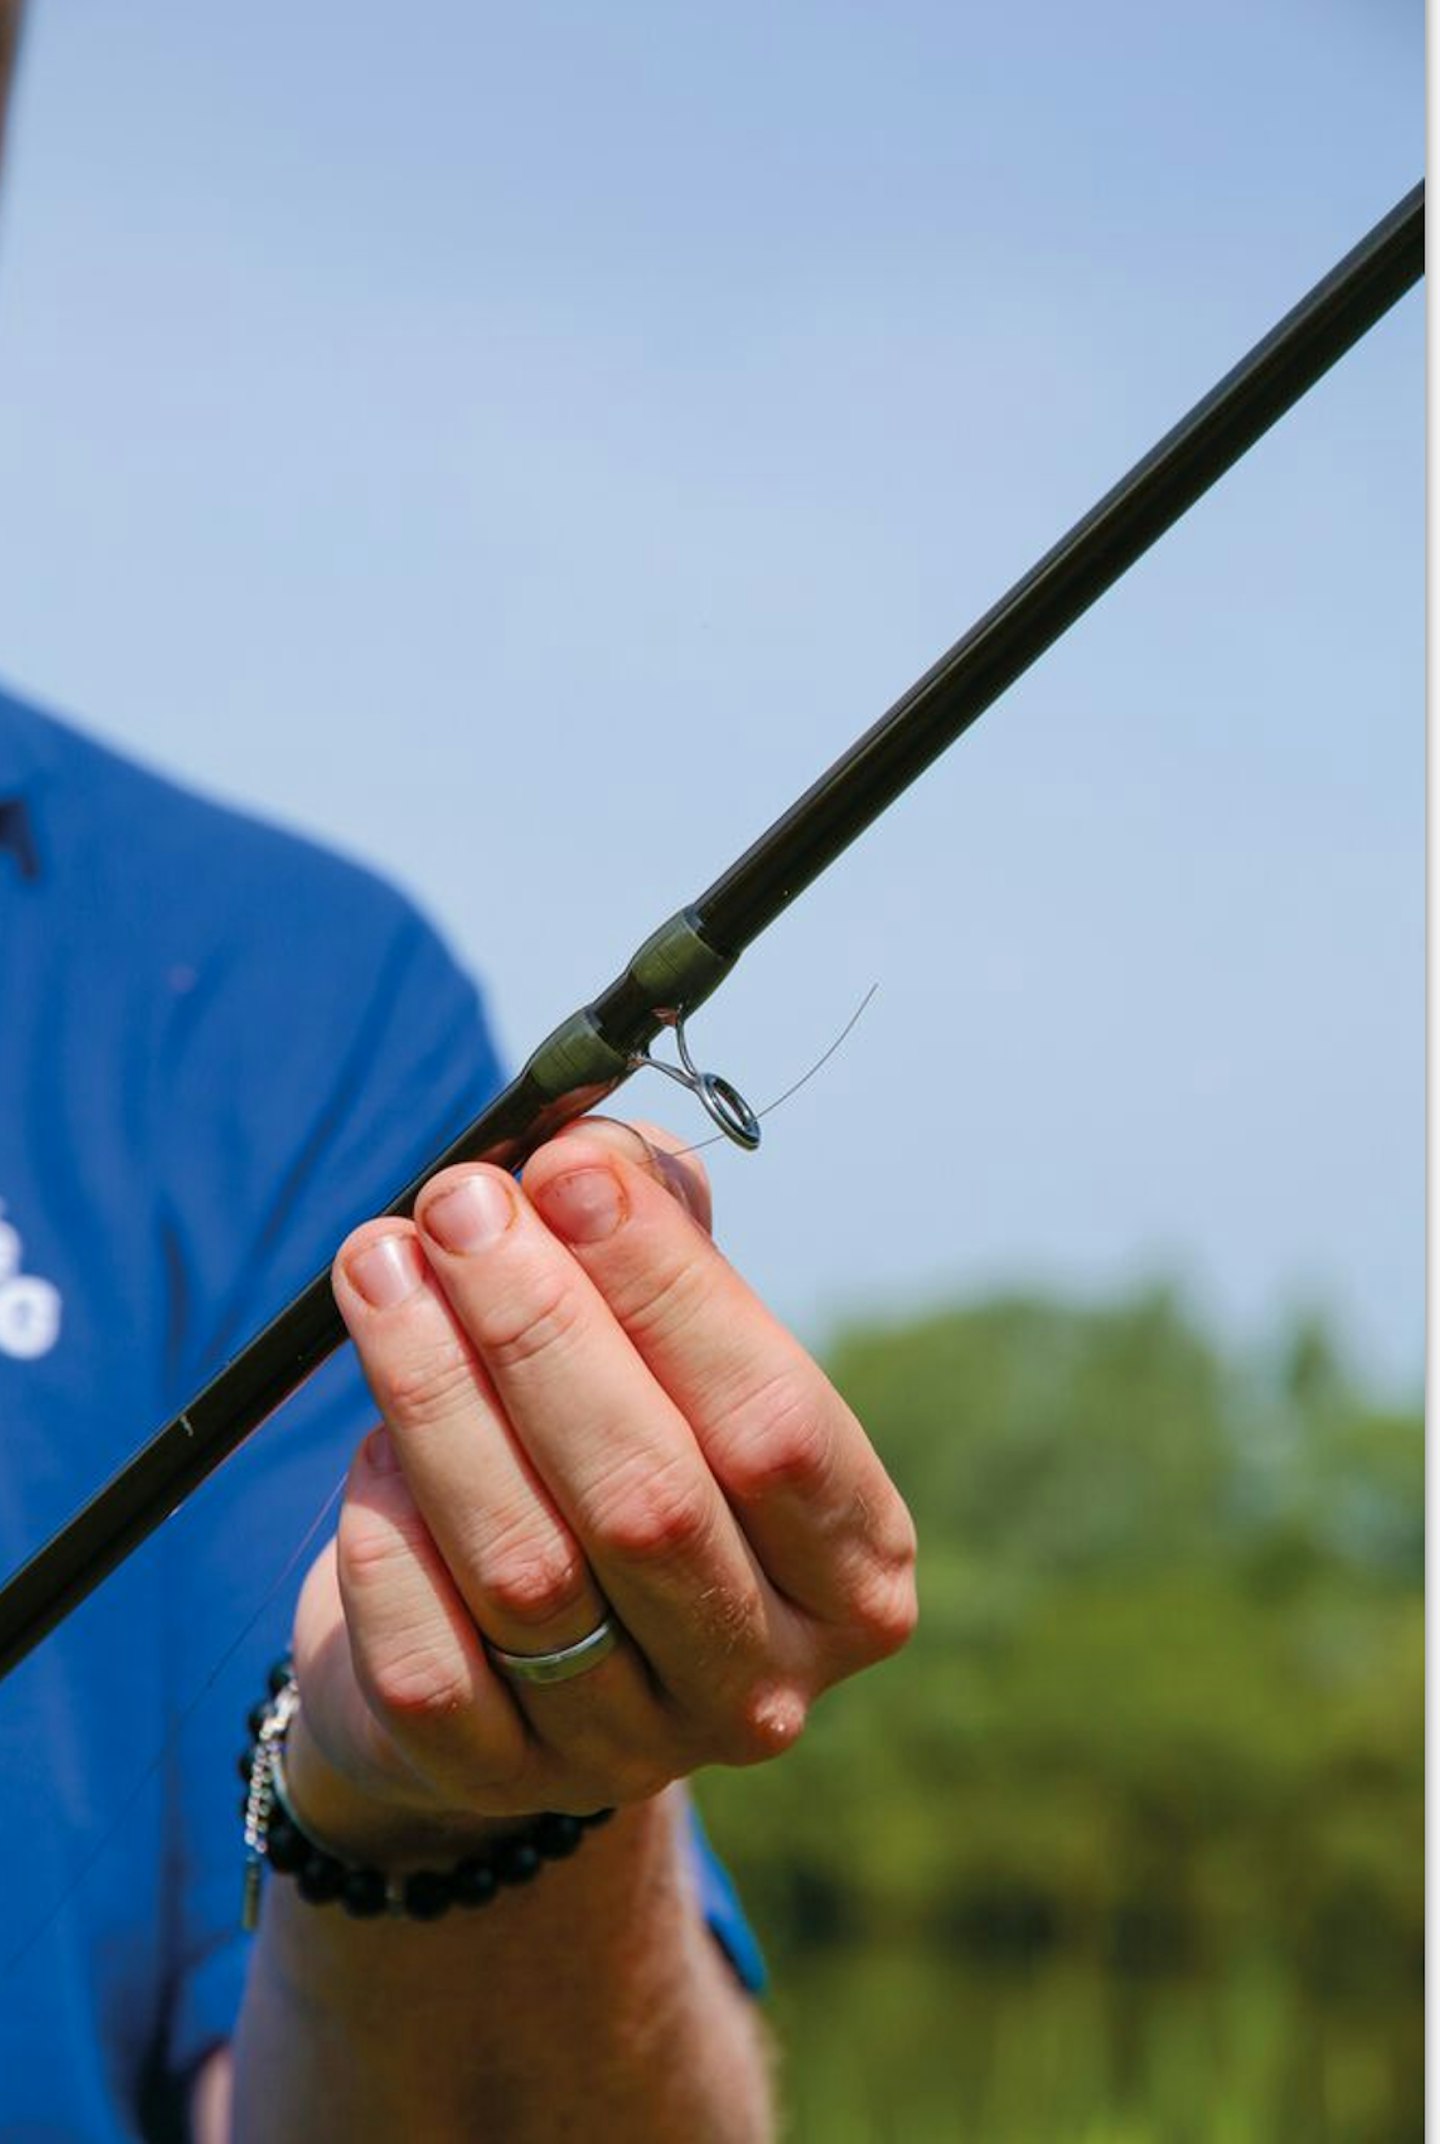
Open the bail arm of the reel to release the main line, this can now be thread through each guide of the rod right to the tip, pay extra attention not to miss any eyes or that the line doesn't wrap around the blank of the rod whilst threading the line as this will restrict travel and eventually will break the line when in use.
USING THE BEST LINES FOR FEEDER FISHING WILL IMPROVE YOUR SET UP.

Tying the rig
Once the line is threaded through the guides now you can tie your rig. A simple running rig is the best place to start it’s not prone to tangles and complies with fishery running rig rules if they have them.
Firstly, start by threading on a snap link swivel or feeder bead as this will allow you to attach a feeder or lead and be able to change without dismantling the rig. Next tie on a hook length swivel or a quick-change bead using a five turn grinner knot.

These beads allow the hook length to be quickly attached or changed and act as a stop or buffer for the feeder bead or swivel to butt up against. Next you can attach a hook length, typically a 12” to 18” inch hook length is a good place to start and this can be shortened and lengthened dependent on the conditions. The rig is complete and ready to bait and cast.
IF YOU WANT TO CATCH CARP ON THE FEEDER, HERE ARE SOME AWESOME RIGS TO TRY.

